Laravel Authenticate With Breeze
Hello Guys,
Today Our tutorial is based on laravel authentication. We will learn how to use laravel breeze to set up an auth system in the laravel project. In the earlier version of laravel, We use the artisan auth command to set up the auth system the laravel. But now auth command is removed from laravel. Now we can use the breeze to create auth system.
But many of my friends and coworkers feel it is a confusing process. So, I will explain how we can use breeze for auth system in simple steps.
Let's start
Installing laravel project
Our first step is to install the laravel project for this, we will run the following command.
composer create-project laravel/laravel breeze
I am using composer to create the laravel project. In the command, the breeze is used as the project directory name. Once the command runs successfully. It will create the laravel project in the breeze directory.
Install breeze
Once your project is created. Now you can install laravel breeze in your project. For this run the bellow command in your terminal or command project.
composer require laravel/breeze --dev
After this, the command we need to publish breeze files to our project folder. to publish we need to run the following command.
php artisan breeze:install
This command will publish all the view and route files related to authentication.
After breeze is installed, We need to compile js and CSS to min files.
npm install && npm run dev
Our next step is to migrate the auth tables to the database.
Migrate tables
Before migrating tables, Make sure you have updated the .env file with database creds. After this run the following command.
php artisan migrate
After the following command, All the tables will be created in the database. Now Our Laravel auth is ready to use.
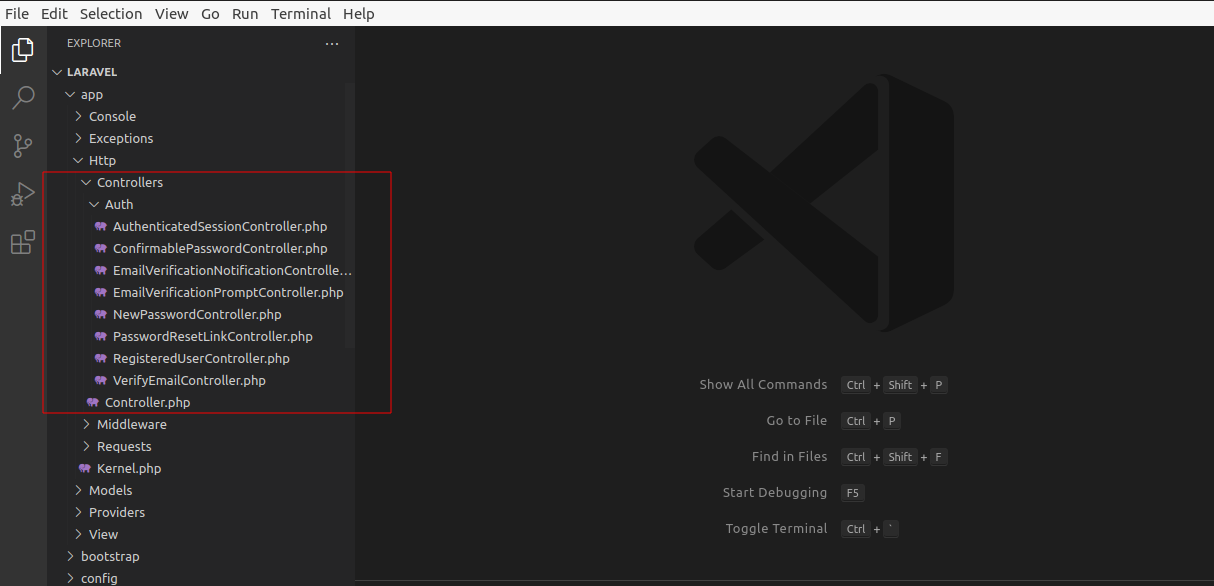
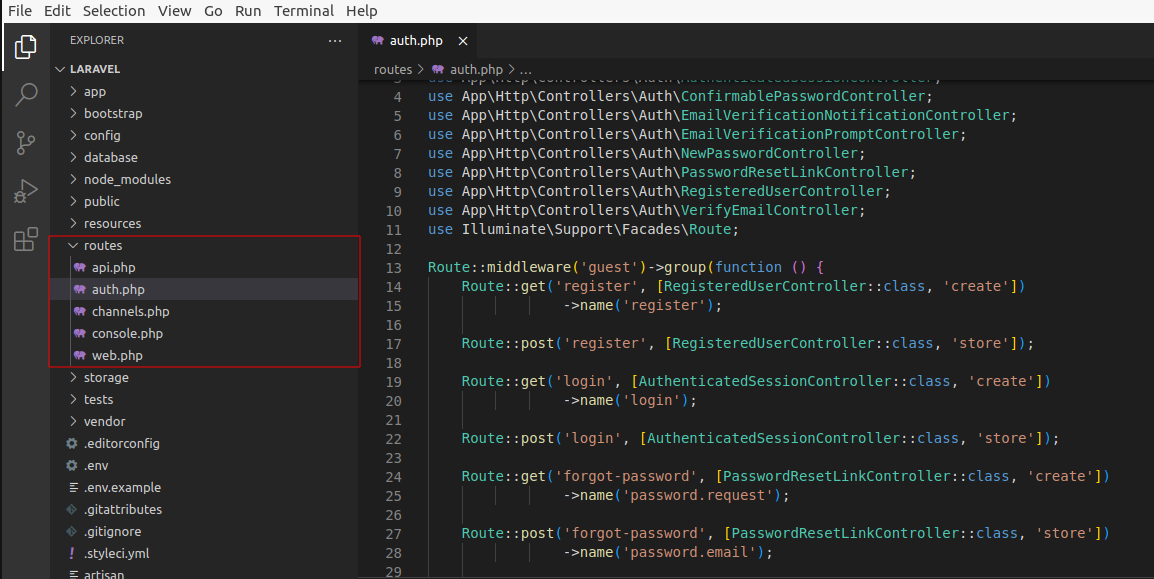
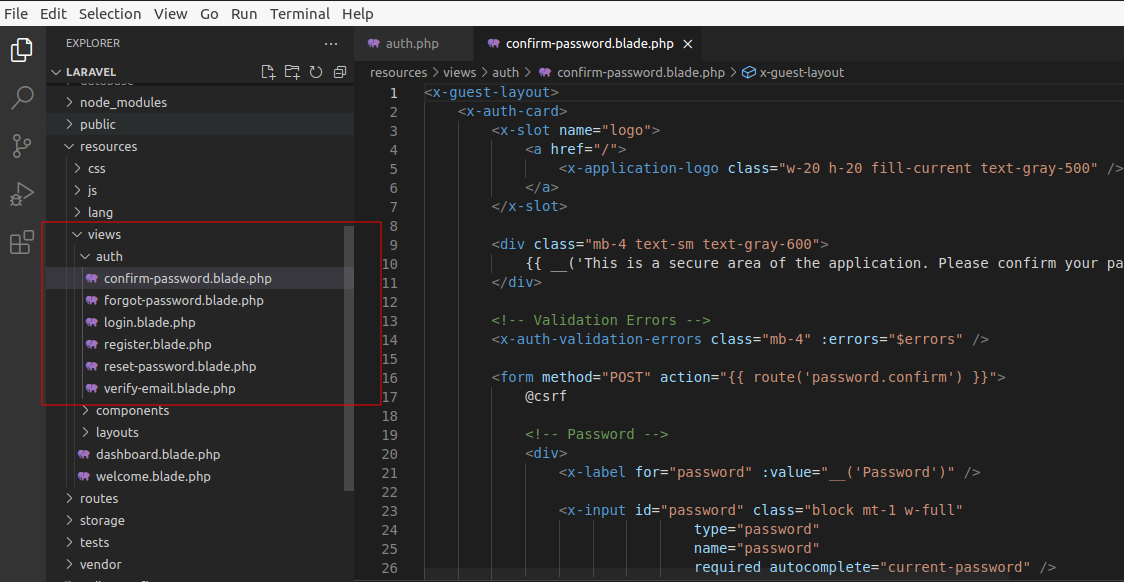
The breeze will create the following files in your project.
Breeze Authentication Controllers
Breeze Authentication Routes
Breeze Authentication Views
Run the server
After all the steps we are ready to test our auth system. to run the project on the browser. Run the following command.
php artisan serve
Now, Open http://localhost:8000/ on your browser to start the project. There you can check the login and register options in the right top bar.
I hope you guys like the tutorial. You can share this knowledge with your team and friends.
Thanks

Templatebench
We are Template bench. We love programming. We also love to share tips and tricks with you.